Transactional surveys allow companies to deep dive into specific touchpoints on the customer journey to get a more detailed view on the biggest drivers requiring improvement. This recipe discusses how to best build out a transactional survey based on our best practices. Please note that Transactional surveys should complement an existing relationship survey campaign that has already yielded insights on which specific touchpoints require further exploration.
Please also consult our Additional Touchpoints recipe for more guidance on exploring different touchpoints.
Directions
Create and Configure Your Campaign
Start by opening the CustomerGauge Campaign Suite and creating a new campaign.
Choose whether to use an existing survey template or create a new one that matches your company’s branding—this is especially useful if you want the survey to visually align with your existing relationship surveys.
Once your survey template is ready, add it to your campaign and save your changes.
Next, configure the Recipient Filters to target the specific touchpoint you want to survey. Be sure to set filters based on criteria such as customer type, region, or country.
Then, define your sending rules, including the timing and content of your pre-invitation, survey messages, and reminders.Build the Survey Content
Structure the survey similarly to your relationship survey:
1) NPS question
2) Driver questions
3) Open comment box
4) Follow-up questions for passives and promoters
Customize the NPS question to reflect the specific interaction or touchpoint.
Tailor the driver questions to align with the customer journey at that touchpoint.
Example of transactional NPS Questions:
“Based on your recent experience purchasing our products, how likely are you to recommend our ordering system to a colleague or business acquaintance?”
“How likely are you to recommend Bundle to a colleague or business acquaintance, based on your recent experience with our support team?”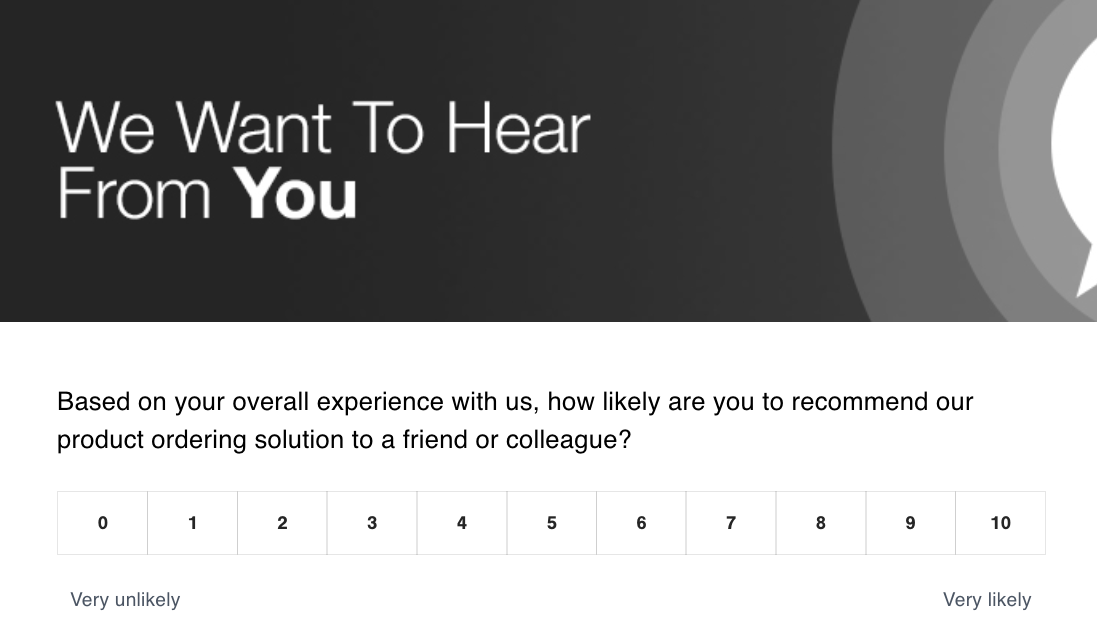
You can learn more from our other AX Recipes about How to Define Drivers and plan out your Customer Journey.
Update Your Data Import Mapping
Before launching your survey, review your data import mapping to ensure it includes any additional fields relevant to this specific touchpoint.
Unlike your relationship survey, you may need to segment or filter by values that are unique to the interaction you're surveying. For example, a support survey might require the inclusion of a Support Agent field, while a delivery or supply chain survey could benefit from a Delivery Manager field.
If needed, add these new fields to the Import Fields and Filter sections of your campaign. We recommend discussing any changes with your Customer Success Manager (CSM) or, at the very least, notify them to ensure alignment.

Add New Values to the Touchpoint Segment
To streamline your workflow, consider creating a new value specifically for this touchpoint. This allows you to define and upload all relevant data fields tailored to the interaction you're surveying—ensuring you capture the right context for analysis and filtering.
Go to System Admin > Segments > Add Value (For Example - Delivery)

By setting up a dedicated configuration (e.g., “Support Interaction,” “Product Delivery”), this makes it easier to filter responses later based on each touchpoint being surveyed.This approach helps maintain consistency in your data and reduces errors—especially when working across multiple touchpoints or survey types.
Integrate and Automate Survey Distribution via Your CRM
If you're using a CRM platform like Salesforce, you have the option to automate survey distribution by integrating your survey touchpoint directly into your existing workflows.
Check whether you already have an integration set up. If so, meet with your technical representative to confirm that the integration can support this new touchpoint. If not, work with them to create and test a new integration that triggers survey sends based on relevant actions (e.g., case closure, order delivery).
Integrating also allows you to push survey record information back into your CRM system.
You can align with your Customer Success Manager (CSM) to understand how many integrations are included in your current package. For more information, check out our recipe on the Salesforce Integration, and System Integration.
Define Survey Timing and Review Duplication Rules
We recommend sending transactional surveys as soon as possible after the interaction—ideally immediately after the transaction is completed. If you have an integration in place (e.g., with your CRM), this can be fully automated to trigger surveys in real time.
If you’re not using an integration, aim to trigger the survey within 1–3 days of the transaction. This timing ensures feedback is fresh and relevant, increasing both response rates and the quality of insights.
Additionally, review your duplication rules to ensure they accommodate the frequency of this new touchpoint survey. For example, if the same customer might complete multiple transactions within a short period, make sure your rules prevent duplicate survey requests—or adjust them to fit your campaign strategy.
Prepare Your Teams to Act on Feedback
Consider whether this new touchpoint will involve additional teams or individuals in the feedback and closed-loop process. For example, a support or delivery-related survey may require team leads, agents, or account managers to review and respond to customer feedback directly.
You may need to:
Update access permissions so the right people can view results.
Raise internal awareness of the new survey and its purpose.
Brief relevant teams on how to interpret and respond to feedback, including closing the loop with customers.Raising awareness internally and aligning your teams is key to making your transactional CX program actionable and impactful.
Test Campaigns End-to-End Before Launch
Before going live, make sure to conduct end-to-end testing of your survey setup. This ensures that:
1) The right data is flowing in
2) Filters and triggers are working correctly
3) Emails are sending as expected
4) Responses are being recorded and routed properly
Once testing is complete, delete any test records to keep your data clean and avoid skewed results. A thorough test run helps catch any issues early and sets your campaign up for success