This recipe explains how to make a drip logic and upload the records manually or via Salesforce integration. Let's explore the recipe!
Directions
Setting up the Drip logic
A good Drip (Distributed Delivery) logic is 1) programmed weekly and 2) considers the workload of those who close the loop such as your sales representatives. Additionally, please note that the drip logic should be regularly reviewed and adjusted to make it optimal for your business.
- Sending campaigns to customers every week
It helps keep the memory fresh for those who close the loop and root the process in your culture. The introduction of the logic should be considered hand in hand with a compact campaign schedule. - Divide customers up by those who close the loop, so each customer is spread out evenly across the campaign period.
Here are some key considerations for spreading out survey sending:- Strategically spread out the customer cluster to survey to follow them up within the KPI
- Number of customers for each sales representative who will close the loop
- Geographical distribution of the customers- does it make sense for those who close the loop?
- Maturity of the customer- is the relationship mature enough to conduct the survey (especially if it is a relationship survey)?
Prioritize by customer’s revenue/ segment. Also, prioritize those at risk.
- Strategically spread out the customer cluster to survey to follow them up within the KPI
- Sending campaigns to customers every week
Upload the records
Once you have created a sending list considering the workload, set the drip logic in place. You can upload files manually or through an integrated CRM software.
- Manual
- You can set the group of customers by dividing by dates such as ‘1-5-2024’ for Group A, ‘8-5-2024’ for Group B, ‘15-5-2024’ for Group C…
- Upload the files manually using the multi-object import in the week you would want to send. You can review the step-by-step in this Platform Tour video.
- Surveys will be sent out based on the campaign setup after the records are uploaded successfully.
- Note: You should check the campaign setup before uploading any records.
- Sending Setting
Each campaign has its specific sending setting. You can check the Sending Setup from Campaign Suite > Action button next to the campaign you want to trigger > Edit > Sending (Second page).
For example, if you activate the pre-invite function and delay the primary invitation by several days, naturally the primary invitation won’t be triggered right after you pull (but only pre-invite campaign).Another example is related to the Sending Period. If you activate this functionality and try to test the campaign out of the set period, the campaign won’t be triggered (but in queue waiting for next opening of the time gate). - Campaign Filter
Each campaign has its filter (condition) to define when the campaign should be triggered; e.g., Touchpoint, Business Unit, Country, etc. You can review the filters by going to Campaign Suite > Click on the Campaign Name in blue that you want to trigger.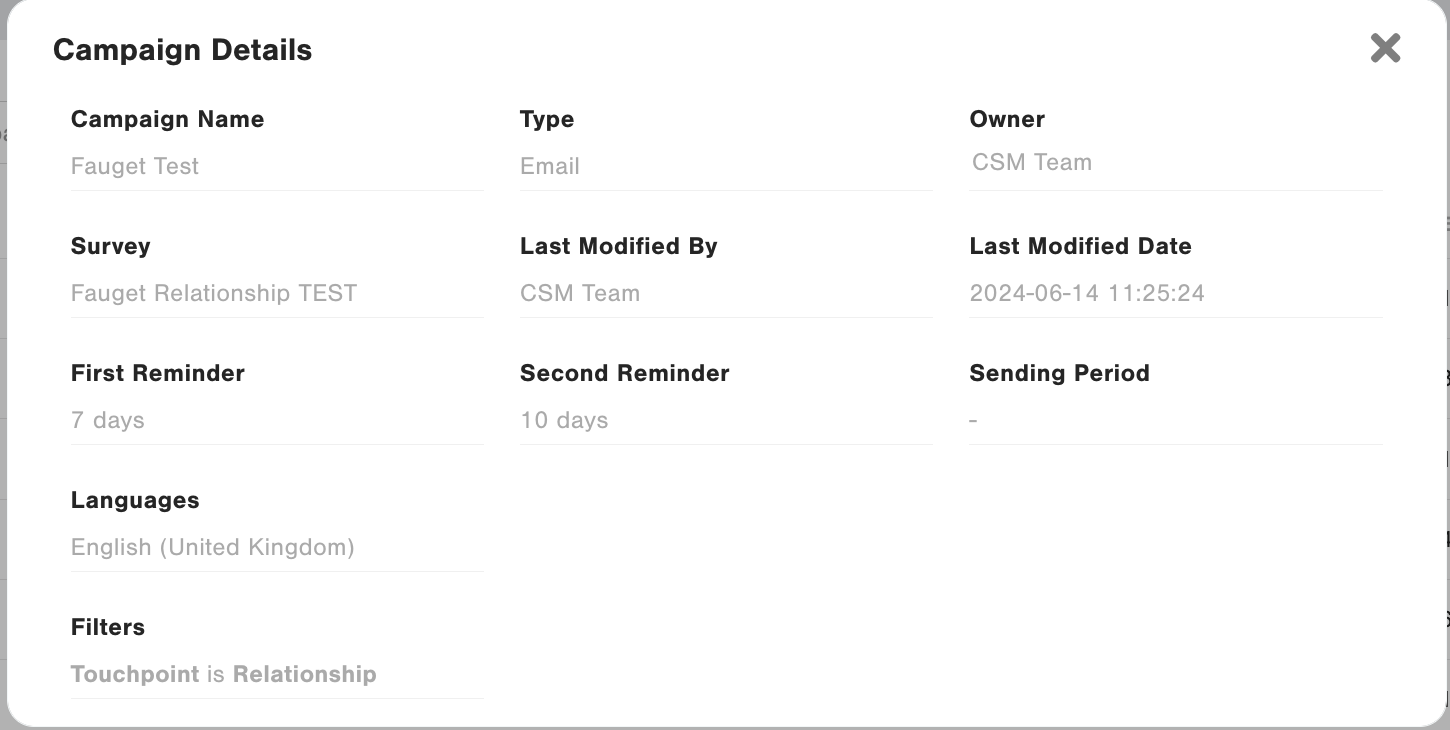
- Sending Setting
- Note: You should check the campaign setup before uploading any records.
- Via Salesforce Integration
- Follow this article to set up a Salesforce integration. As part of your Salesforce integration, the below steps can assist in creating an automatic and continuous survey process.
- Set up a field called ‘CGSurveyDate’ in your Salesforce system that can act as an indicator to trigger the campaign on the desired date.
- For example, you can set the group of customers by dividing by pull dates such as ‘1-5-2024’ for Group A, ‘8-5-2024’ for Group B, ‘15-5-2024’ for Group C…
- Note: Depending on your reminder settings, if it is set to 7 days, having drip logic set to every 7 days might cause the reminders and the primaries to coincide. This could unintentionally increase workload on those days, so take the reminder setup into account when configuring a Drip logic.
- Add the condition such as ‘CGSurveyDate__c = TODAY in the ‘Where clause’ of your Pull query.
- Example of the where clause in the pull query:
WHERE CGSurveyDate__c = TODAY
- For example, you can set the group of customers by dividing by pull dates such as ‘1-5-2024’ for Group A, ‘8-5-2024’ for Group B, ‘15-5-2024’ for Group C…
- Set up the field called ‘CGPullDate’ in your Salesforce system where CG can update it once CG pulls the records.
The combination of Survey Date, together with the Pull Date, helps avoid accidental sendings, should the Survey Date have been set incorrectly.- You can set the duplication rule in the pull query.
- Example of the pull query (duplication interval: 90 days):
WHERE SurveyDate__c = TODAY
AND ( CGPullDate__c = NULL OR CGPullDate__c <= N_DAYS_AGO:90 )
- As part of your integration, set up the Flag feature to update your ‘CGPullDate’ with the date the record was pulled on once CG pulls the records. To enable the flag feature, turn on the toggle 'Flag pulled records' in the first page (Setting).
Integration > Edit > Pull Mapping

- Test your integration by hitting ‘Trigger’ button on the last page (‘Pull’ in SF 4.0). This action can be done without activating the integration. Once the test is successful, activate automatic pulling by setting your integration to Automatic pull.
- For guidance on the testing process, please refer to this support article. Also, if you wish to do a full end-to-end testing with the integration, you can follow this recipe.
- Surveys will be sent out based on the campaign setup after the records are pulled successfully.
- Note: You should check the campaign setup before pulling. For more details, see Point 3.a of Manual upload.
- Note: You should check the campaign setup before pulling. For more details, see Point 3.a of Manual upload.
- Manual